The best bike stand for home maintenance is the one that fits your bike’s weight, your typical repairs, and your available space, without turning every adjustment into a balancing act.
If you’ve ever tried to index gears while your bike leans on a wall, or you’ve cleaned a drivetrain with one hand while steadying the frame with the other, you already know why a good stand matters, it saves time, reduces frustration, and usually makes work cleaner.
This guide focuses on how home mechanics in the U.S. can choose a stand that actually matches real-life use, quick tune-ups, deeper maintenance, small apartments, garages, even e-bikes. I’ll also point out where people overspend, and where cutting corners tends to backfire.
What a bike stand really does (and why it changes your maintenance)
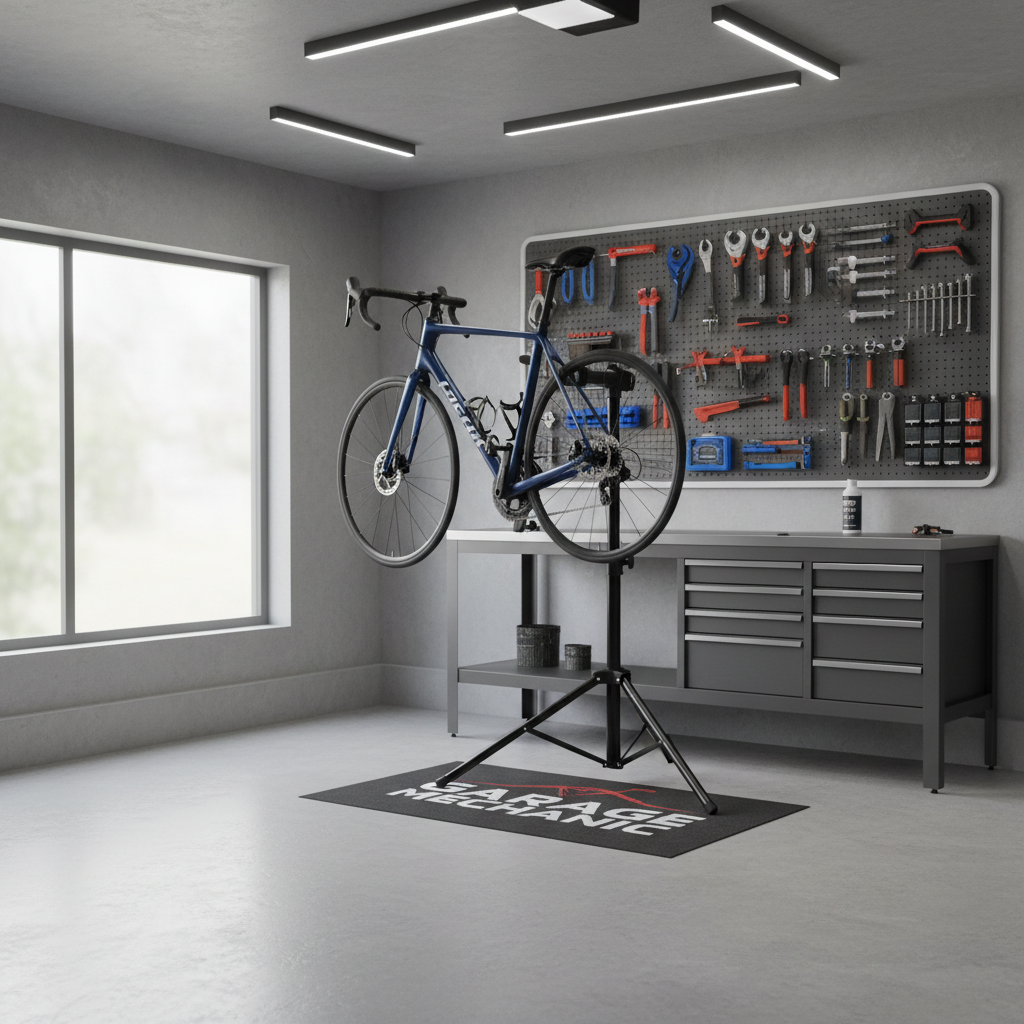
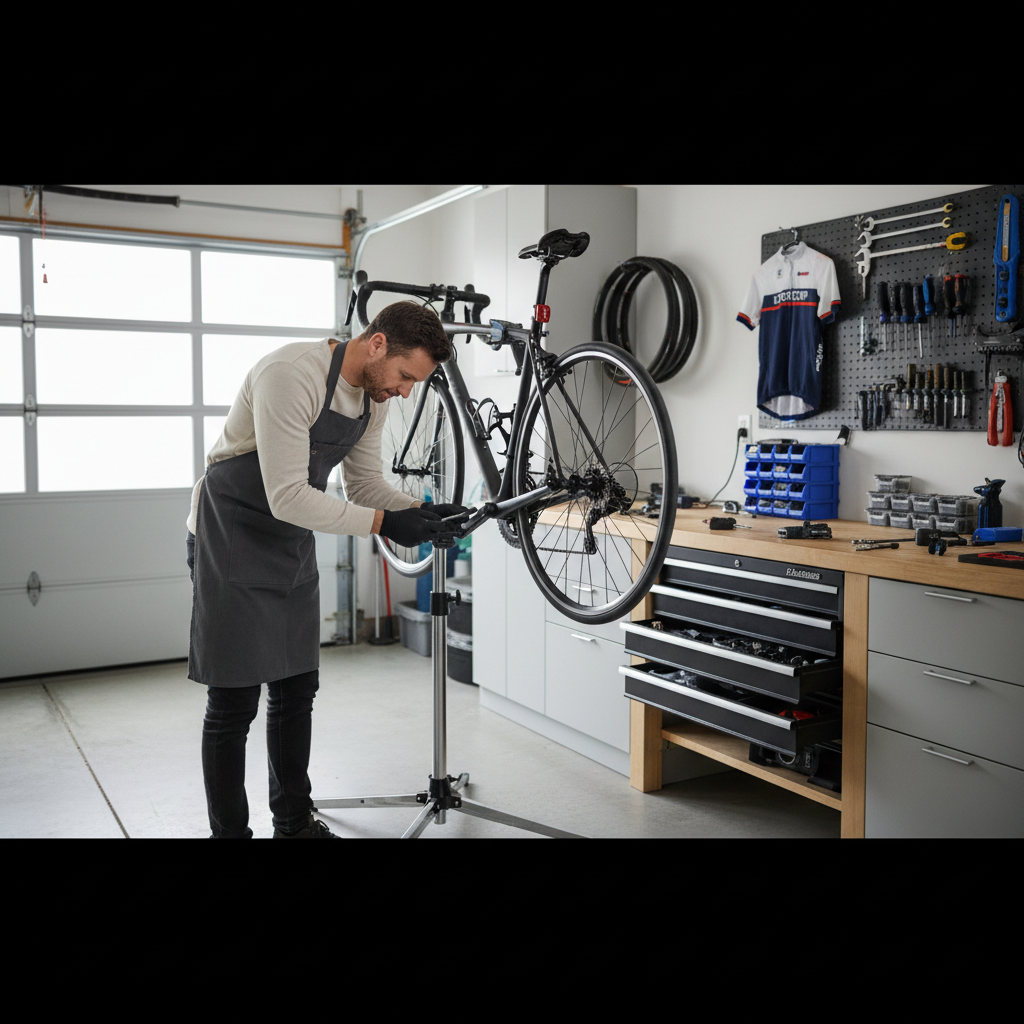
A repair stand is basically a third hand that holds your bike at a comfortable working height, so you can adjust, clean, and torque bolts without fighting gravity. The big difference versus “hanging it on a hook” is stability and access.
With the right stand, jobs like cable tension, derailleur indexing, brake alignment, chain cleaning, and cockpit swaps feel straightforward. With the wrong stand, you often get wobble, crushed tubes, or a slow slide toward the floor.
Key point: for most home mechanics, stability and clamp compatibility matter more than fancy features.
- Stability keeps your bike from twisting when you apply torque.
- Clamp style determines whether you can safely hold carbon, aero tubes, or odd shapes.
- Adjustability affects comfort and whether you can position the drivetrain side where you want it.
Types of bike stands for home maintenance (pros, cons, and who they fit)
Most stands fall into a few buckets. If you pick the right category first, it’s much harder to buy the “wrong” stand.
Clamp-style repair stands (most common)
These use a clamp to hold your bike by the seatpost or frame. They’re versatile, fast to use, and great for routine work.
- Best for: general tune-ups, cleaning, drivetrain work, cockpit adjustments
- Watch-outs: clamping carbon frames or thin tubes can be risky if over-tightened
Bottom bracket / axle-support stands (no frame clamping)
Instead of clamping, these support the bike at sturdy points like the bottom bracket or axle interfaces. They’re popular for carbon bikes, heavier bikes, and higher-torque work.
- Best for: carbon frames, e-bikes, precision work where “no clamp” feels safer
- Watch-outs: setup can take longer, compatibility varies by bike standard
Wall-mounted stands
Great if you want a permanent solution and you have studs to mount into. They save floor space but don’t move.
- Best for: small garages, dedicated workshop corners
- Watch-outs: installation quality matters, and renters may not want holes
Travel / compact stands
These fold small and are easy to store. They can work at home, but they’re usually less stable under heavy torque.
- Best for: apartments, occasional maintenance, race-day adjustments
- Watch-outs: wobble shows up when you pull hard on stuck pedals or BB parts
How to choose the best bike stand for home maintenance (a practical checklist)
Before you compare brands, match a stand to your bike and your typical jobs. This is where most people get clarity fast.
- Bike weight: road and gravel bikes are easy, e-bikes and downhill rigs often need higher capacity.
- Frame material: carbon owners often prefer clamping the seatpost only, or using a no-clamp support stand.
- Tube shapes: aero frames and deep seatposts can make clamping awkward.
- Space: if you’ll store it in a closet, folded size matters as much as features.
- Work style: quick cleans need convenience, drivetrain swaps need stability and height range.
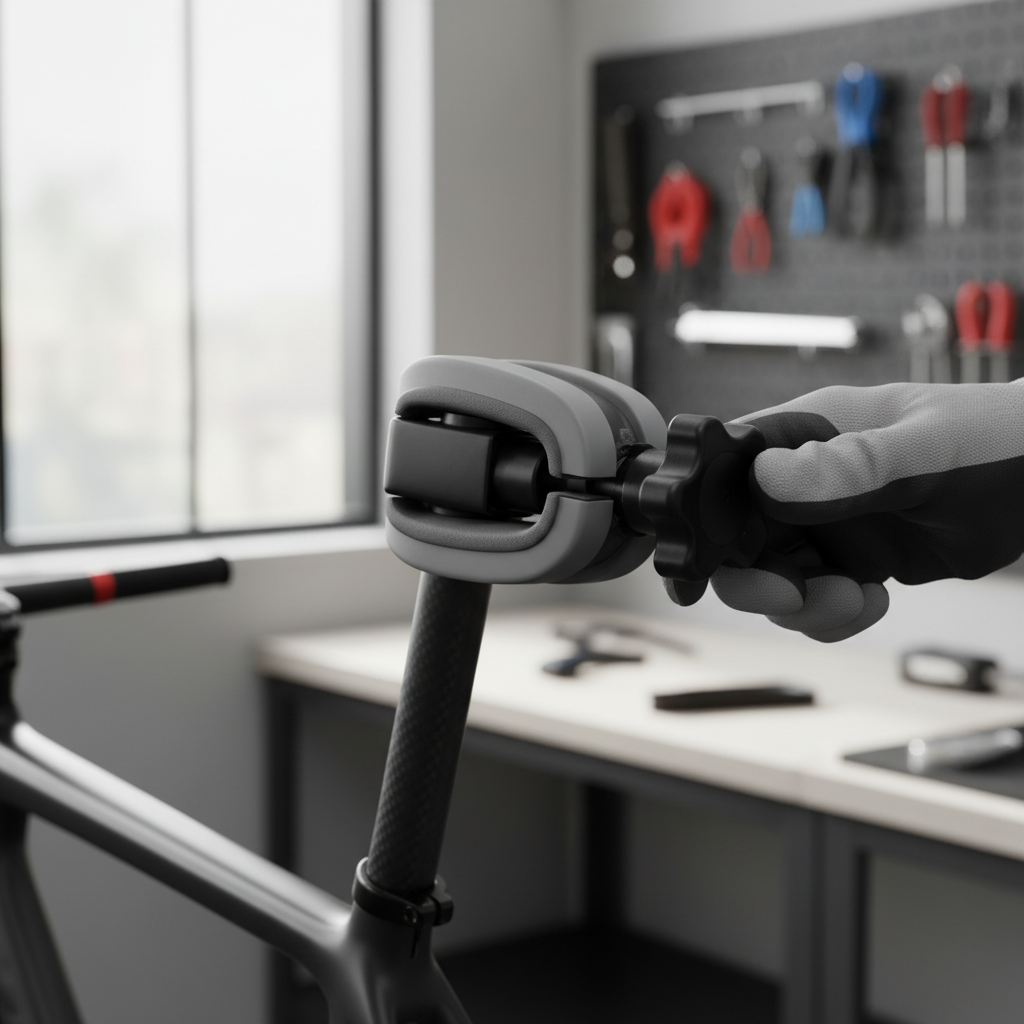
According to Park Tool... clamp the bike on a sturdy round section like the seatpost when possible, and avoid over-tightening clamps on delicate tubing. That advice sounds basic, but it prevents a lot of expensive mistakes.
Quick comparison table: what matters most at home
If you just want to narrow options without reading every spec sheet, this table captures the trade-offs most home mechanics feel.
| Stand type | Stability | Carbon-friendly | Space/storage | Typical use |
|---|---|---|---|---|
| Clamp-style floor stand | High (varies by base) | Yes, if clamping seatpost carefully | Medium | Most home maintenance |
| No-clamp support stand | High | Often easier | Medium | Carbon bikes, heavier bikes |
| Wall-mounted | Very high (installed well) | Depends on clamp style | Excellent | Dedicated workspace |
| Compact/travel stand | Low to medium | Depends on clamp | Best | Light tasks, tight spaces |
Setup tips that make any stand feel safer and easier
Even the best bike stand for home maintenance can feel annoying if you set it up in a way that fights you. A few small habits go a long way.
- Clamp the seatpost when you can, especially on carbon frames, and keep clamp pressure modest.
- Keep the drivetrain facing you for shifting and cleaning, you’ll work faster and spill less degreaser.
- Lower the bike before high-torque steps like stubborn pedals, less leverage means less tipping risk.
- Use a mat or cardboard under the work area, cleaning gets messy even when you try to be careful.
- Check the base is fully opened and locked, many “wobbly stand” complaints come from partial deployment.
If you work on heavier bikes, consider removing accessories (bags, heavy lights, big bottles) before mounting. It sounds fussy, but it keeps the center of mass predictable.
Common mistakes (and how to avoid wasting money)
Most “bad stand” experiences trace back to a mismatch between expectations and physics. Here are the patterns that show up a lot.
- Buying for price only: cheaper stands often flex at the mast or clamp, and that flex makes adjustments less precise.
- Over-trusting weight ratings: ratings vary by manufacturer, and real stability also depends on base width and clamp leverage.
- Clamping carbon like it’s aluminum: if you must clamp, prefer a round seatpost and stop tightening once it stops slipping.
- Ignoring storage reality: a “great” stand that’s annoying to store tends to sit unused in a corner.
- Assuming one stand fits every job: some home mechanics use a clamp stand for 90% of work and a small auxiliary support for heavy torque tasks.
According to REI... basic maintenance safety includes keeping a stable work area and using the right tool for the job. A stand is part of that, because it reduces the chances of the bike slipping when your hands are near sharp chainrings or spinning rotors.
When to consider professional help (or at least a second opinion)
A stand makes home work easier, but it doesn’t replace judgment. If you’re unsure, asking a local bike shop for guidance can be a very normal move, especially with pricey components.
- Carbon damage concerns: if you suspect cracking or crushing, stop clamping and have it inspected.
- Brake work that feels off: hydraulic issues, contamination, or persistent rubbing can be tricky to diagnose.
- High-torque installs: press-fit bottom brackets, suspension pivots, and certain e-bike parts may require special tools and experience.
- Kids’ bikes and odd standards: sometimes it’s less about risk and more about compatibility headaches.
For safety, if you’re using chemicals for cleaning, ventilation and gloves are usually a good idea, and if you have sensitivities, it may be worth checking product labels or asking a professional.
Conclusion: picking a stand you’ll actually use
The best bike stand for home maintenance is usually a stable, easy-to-deploy stand that matches your bike weight and lets you clamp safely, ideally on the seatpost. If you ride carbon or heavier bikes, it often makes sense to prioritize no-fuss support and stiffness over extra features.
Action steps: write down your bike weight and frame material, decide whether you can clamp the seatpost comfortably, then pick the stand type first and the brand second. You’ll end up with a setup you trust, which is the whole point.
FAQ
What is the best bike stand for home maintenance if I live in an apartment?
Many apartment riders do well with a compact folding clamp stand, as long as it’s stable enough for light-to-medium work. If you frequently remove pedals or do high-torque jobs, a sturdier stand may still be worth the storage trade-off.
Can I clamp a carbon frame in a repair stand?
It depends on the frame and clamp design, but many people avoid clamping carbon tubing directly. Clamping a round seatpost with gentle pressure is often safer, and if that’s not possible, a no-clamp support stand may be a better fit.
How much weight capacity do I need for an e-bike?
Start with your e-bike’s total weight including battery, then look for a stand with a comfortable margin above that. Capacity is only part of stability, base width and clamp stiffness also matter in day-to-day use.
Is a wall-mounted bike stand better than a floor stand?
A wall mount can feel extremely solid and saves floor space, but only if it’s installed into studs correctly and positioned well. A floor stand is more flexible, especially if you move your work area or share space.
Why does my bike rotate or slip in the clamp?
Usually it’s clamp placement or insufficient friction. Try clamping a rounder section like the seatpost, make sure clamp jaws are clean, and reduce bike height slightly so the bike’s leverage against the clamp is lower.
Do I need a repair stand if I only clean my chain?
Not strictly, but it makes cleaning faster and less messy because you can spin the drivetrain freely and keep the bike stable. If chain cleaning is your main task, you can prioritize convenience and storage over maximum stiffness.
What features are actually worth paying for?
A smooth clamp with good padding, stable base geometry, and a height range that fits you tend to matter more than extras. Tool trays are nice, but they don’t fix flex or wobble, which is what annoys people long-term.
If you’re trying to choose a stand and you’re stuck between two types, it can help to list your top three “most common jobs” and your bike’s frame material, then pick the simplest option that feels stable and safe in your space, you’ll use it more often.