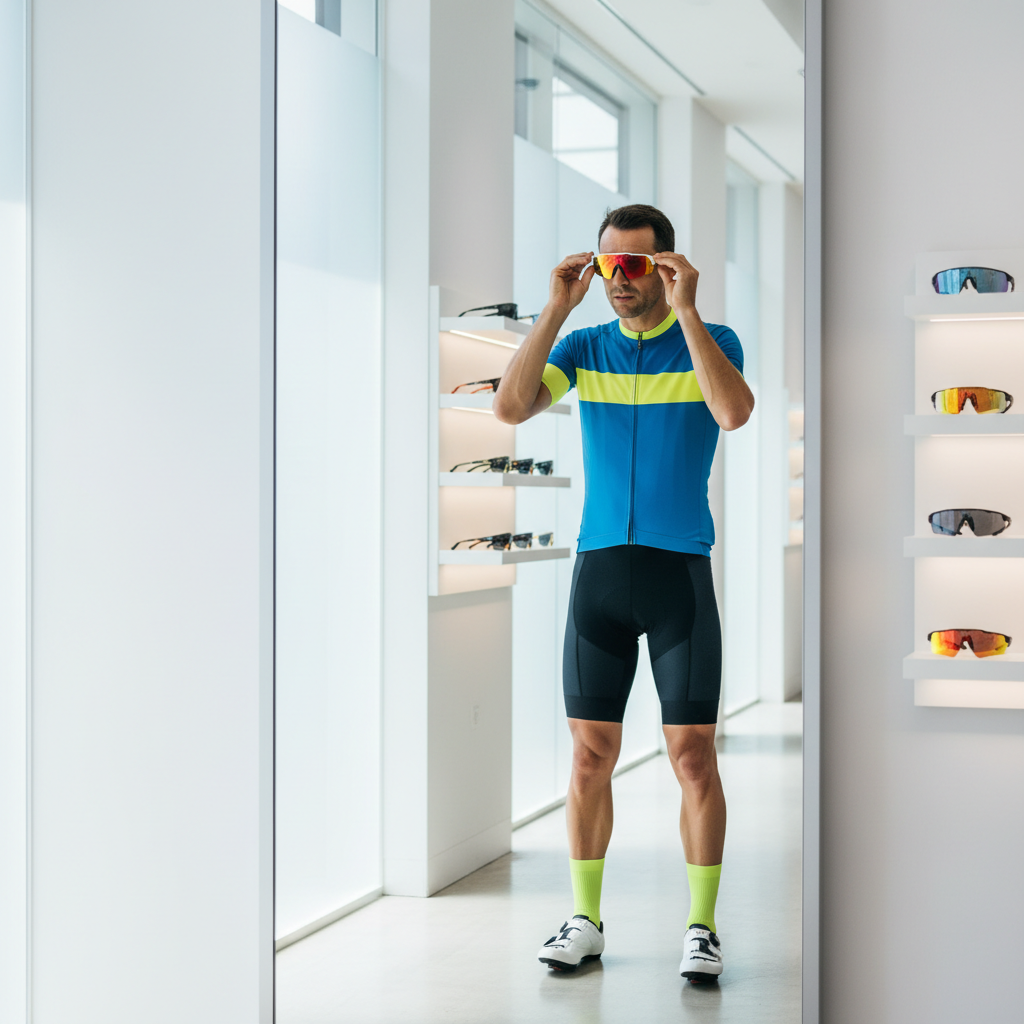
how to choose cycling sunglasses for face is mostly a fit problem disguised as a style problem, if the frame pinches your temples, fogs on climbs, or leaves a gap that lets wind rush in, the “best” lens in the world won’t feel right.
Good cycling eyewear does three jobs at once, it protects your eyes from UV and debris, it keeps your vision clear in changing light, and it stays stable when you sweat, look down, or hit rough pavement. Most buying guides talk about coatings and colors, but riders usually quit a pair because of pressure points, slipping, or weird optical distortion.
This guide keeps it practical, you’ll learn quick ways to match sunglasses to your face, what specs actually change performance, and how to test a pair before you commit, even if you’re buying online.
Start with face fit, not lens color
When people search how to choose cycling sunglasses for face, they’re usually dealing with one of three issues, the frame feels tight, the glasses slide, or airflow makes eyes water. Face fit fixes most of that, and it’s easier to dial in than it sounds.
Three measurements that matter
- Temple width: if arms squeeze your head, you get headaches, if they’re loose, the glasses bounce.
- Nose bridge height: too high and the frame sits up, letting wind in, too low and it touches cheeks, especially when you smile.
- Cheek clearance: on the bike you tilt your head, a tall lens can contact cheeks and push the frame upward.
If you wear a helmet with a retention dial, try sunglasses with the helmet on. The arm tips should sit under the retention cradle without fighting it, otherwise you’ll feel hot spots fast.
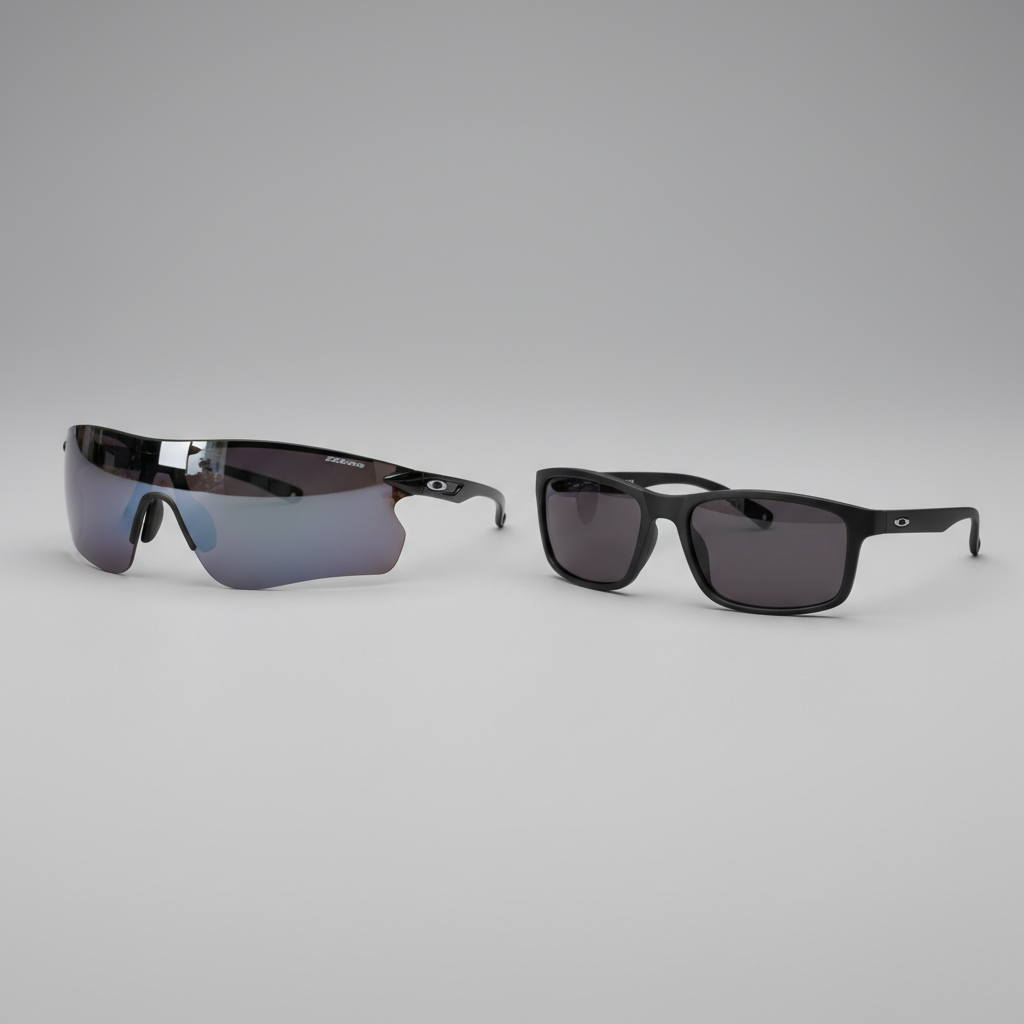
Match frame shape to your face shape (without overthinking it)
Face shape advice gets gimmicky, but there are a few patterns that hold up in the real world. The goal is coverage plus stability, not “fashion balance.”
Quick face-shape pairing
- Round faces: many riders prefer slightly more angular or semi-rimless frames to avoid a “too wide” look, but prioritize lens height for wind protection.
- Square faces: curved wrap frames often feel comfortable because the wrap follows stronger jaw/temple lines, watch for temple pressure.
- Oval faces: most shapes work, choose based on ride conditions and helmet fit.
- Heart-shaped faces: check temple tension and top-heavy frames, lighter semi-rimless designs often sit more naturally.
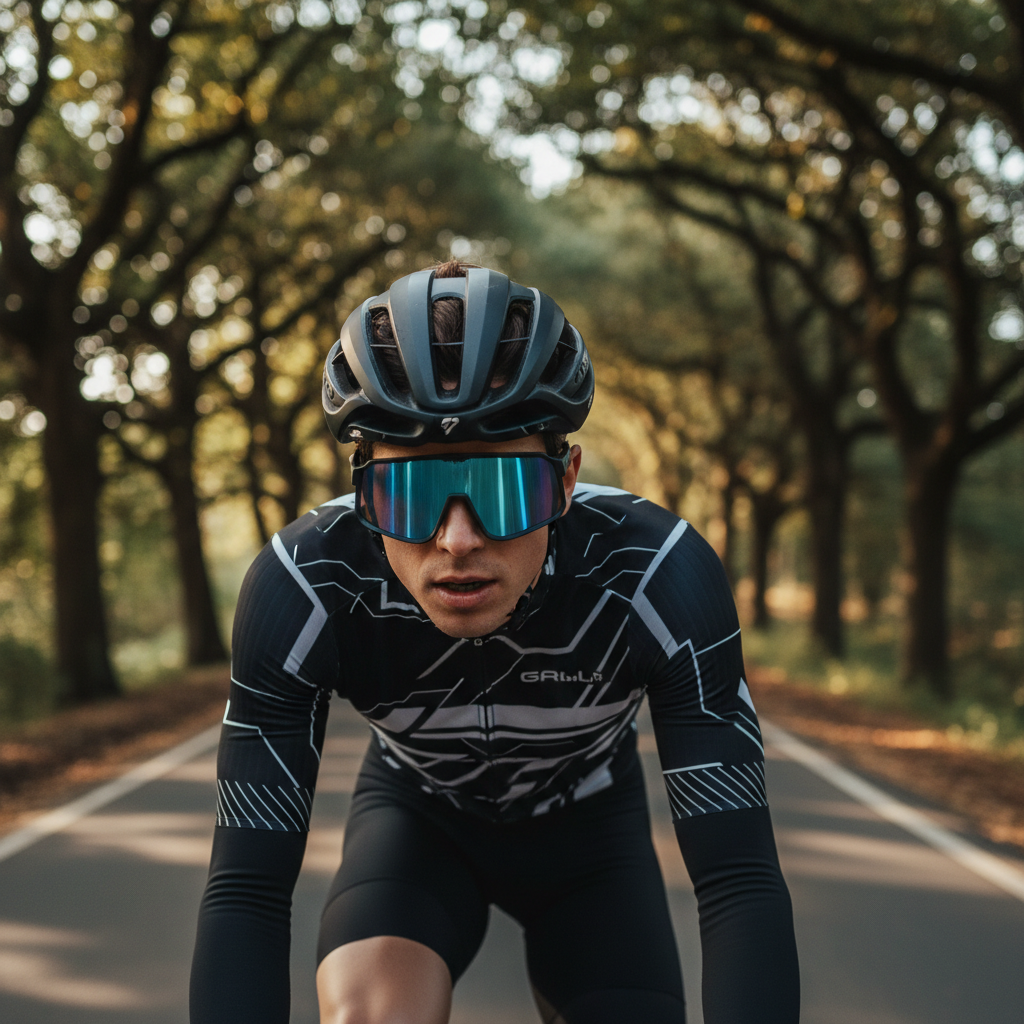
Wrap matters more than “round vs square.” A higher-wrap shield blocks wind and grit better, but too much wrap can cause peripheral distortion for some people.
Use this checklist to confirm you picked the right size
Before you worry about coatings, run a simple “on-bike” fit check. If you’re buying online, mimic these tests at home and keep tags on until you’re sure.
- Shake test: look down and lightly shake your head, the frame should not slide down your nose.
- Pressure test: after 10 minutes, check for temple soreness or a red mark on the nose bridge.
- Vision test: glance left/right and down toward your front wheel, edges should look natural, not wavy.
- Vent test: breathe harder for 30 seconds, if fog forms immediately, you may need better ventilation or a different nose piece height.
- Helmet clearance: arms should not push against helmet straps or retention system.
If you have long eyelashes or prominent cheekbones, prioritize extra lens spacing and an adjustable nose piece, those two features solve a lot of “this felt fine in the store” regret.
Lenses: choose for your riding light, then add versatility
Lens choice is where performance becomes obvious, especially early morning, shaded trails, or rides that start sunny and end overcast. According to American Academy of Ophthalmology, UV protection helps reduce long-term eye damage risk, so make sure your lens choice includes solid UV coverage, regardless of tint.
Common lens types for cyclists
- Dark tint: best for bright midday road riding, can feel too dim under trees.
- Rose/amber: boosts contrast, many riders like it for variable conditions and mixed shade.
- Clear: wind and debris protection in low light, dawn, dusk, or heavy clouds.
- Photochromic: adapts to changing light, convenient for long rides, but response speed and max darkness vary by brand.
- Polarized: reduces glare off water and car hoods, sometimes makes it harder to read some bike computer/phone screens depending on angle.
If you’re still deciding how to choose cycling sunglasses for face and you only want one lens setup, photochromic or a mid-contrast tint often fits the most situations, but very bright desert sun can still overwhelm some adaptive lenses.
Table: what to buy for your typical ride
Rather than chasing a “pro” spec list, pick based on where you ride and what annoys you now, watering eyes, fog, glare, or constant swapping.
| Riding scenario | Frame priorities | Lens priorities | Extra notes |
|---|---|---|---|
| Sunny road rides | Medium-high wrap, stable temples | Dark tint, strong UV protection | Consider venting to reduce sweat fog |
| Mixed shade routes | Good cheek clearance | Rose/amber or photochromic | Contrast helps spot cracks and debris |
| Early morning / dusk | Lightweight, comfortable nose fit | Clear or light tint | Too-dark lenses increase risk from reduced visibility |
| Trail / gravel | More coverage, secure grip | Impact-resistant lens, high contrast | More wrap can block dust and side glare |
Comfort details that separate “fine” from all-day wearable
On long rides, comfort becomes performance. Small hardware choices decide whether you keep the glasses on during climbs, or shove them into vents and scratch the lens.
Look for these build features
- Adjustable nose pieces: helps dial height and reduce cheek contact, especially if your face is narrow or your nose bridge is low.
- Grippy rubber at nose and temples: improves stability with sweat, but can feel sticky if too soft.
- Vent channels: reduce fogging, but too much venting can let wind dry your eyes.
- Interchangeable lenses: useful if you ride in very different conditions, but check how easy swaps feel with gloves.
- Prescription options: either direct RX lens, insert system, or wearing contacts, each has trade-offs in fog and clarity.
If you already get dry eyes, excessive airflow can make symptoms worse, in that case a slightly higher-wrap lens and better top seal may feel more comfortable, but if symptoms persist, it’s sensible to ask an eye care professional.
Practical buying steps (especially if you shop online)
This is the part most people skip, then they end up returning three pairs. A little structure saves time.
- Step 1: confirm your pain point, slipping, fogging, pressure, glare, or not enough coverage.
- Step 2: shortlist frames by fit features, adjustable nose piece, higher wrap, wider or narrower bridge options.
- Step 3: pick one lens strategy, single do-most tint, photochromic, or interchangeable kit.
- Step 4: test with helmet and riding posture, your face angle changes on the bike, and that’s where cheek contact shows up.
- Step 5: check return policy and spare parts, nose pads and lenses are wear items, availability matters.
If you’re still debating how to choose cycling sunglasses for face, prioritize fit first, then buy the lens you’ll actually use most days. A perfect “race lens” that stays in a drawer is wasted money.
Common mistakes to avoid
- Buying too large for “more coverage”: oversized frames often touch cheeks and shift when you sweat.
- Ignoring distortion at the edges: a strong wrap can look fast but may feel odd if you’re sensitive to optical changes.
- Assuming polarized is always better: it can be great for glare, but check your screen readability before committing.
- Over-cleaning with harsh materials: paper towels and shirt hems scratch many lenses, use a microfiber cloth and rinse grit first.
- Forgetting ventilation: fog can be a fit issue, but sometimes it’s simply poor airflow design for your sweat pattern.
According to CDC, eye injuries can happen during sports and recreation, so if you ride in heavy debris areas or gravel, it’s worth leaning toward impact-resistant lenses and a frame that stays put when you hit bumps.
Wrap-up: a simple way to decide today
If you want a clean decision, pick a frame that matches your face width and nose bridge, confirm it stays stable with your helmet on, then choose lenses based on the light you ride in most often. That’s the combination that usually turns “I guess these work” into “I forgot I’m wearing them.”
Your next step can be small, measure the fit issues you have now, shortlist two frames with adjustable contact points, and test them in riding posture. Comfort problems rarely fix themselves mid-ride.