How to polish a bike to shine comes down to two things most people skip: getting the surface truly clean first, and matching the polish to the material you’re actually touching. If you polish over road grit or dried chain fling, you usually end up with hazy patches, micro-scratches, and a shine that disappears after one ride.
It’s worth doing right because a glossy finish is not only cosmetic, it can make routine washing faster and help you spot problems early, like hairline cracks, rust blooms, or leaking seals. The trick is keeping “shine” separate from “slippery,” especially around braking surfaces.
You also don’t need boutique products to get a good result, but you do need a sensible order of operations. This guide breaks down what to use on paint, aluminum, carbon, chrome, and plastics, plus a quick checklist so you don’t accidentally polish something that should stay dry or uncoated.
What “shine” really means on a bike (and what it doesn’t)
On most bikes, shine is a combination of clean paint or clearcoat plus a thin protective layer that levels tiny surface texture. It’s closer to detailing a car than “making metal shiny” with harsh abrasives.
Two quick guardrails help you avoid 90% of the common mistakes:
- Shine should live on non-contact surfaces: frame tubes, fork lowers, non-braking parts, certain plastic covers.
- Shine should not migrate: rotors, rim brake tracks, pads, tires, grips, saddle top. If a product can transfer, keep it away.
Tools and products you actually need (simple kit)
Keep the kit small and predictable, because mixing random cleaners and polishes is where streaks and weird reactions happen. Many riders already own most of this.
- Bike wash or a gentle, paint-safe soap (avoid strong degreasers on paint)
- Two microfiber towels: one for wiping, one for final buff
- Soft detailing brush for logos, welds, cable ports
- Isopropyl alcohol (70–90%) for spot-cleaning residue (used carefully)
- Polish/protectant matched to your surface (more on this below)
- Optional: clay bar or synthetic clay mitt for stubborn contamination, nitrile gloves
According to Park Tool..., you should keep lubricants and cleaners off braking surfaces and tire tread, and always wipe accidental contamination immediately to protect braking performance.
Before you polish: the prep steps that make the gloss stick
If you’re chasing a deep gloss, prep matters more than the polish brand. Most “it still looks dull” issues trace back to leftover film, embedded grit, or using a towel that’s already contaminated.
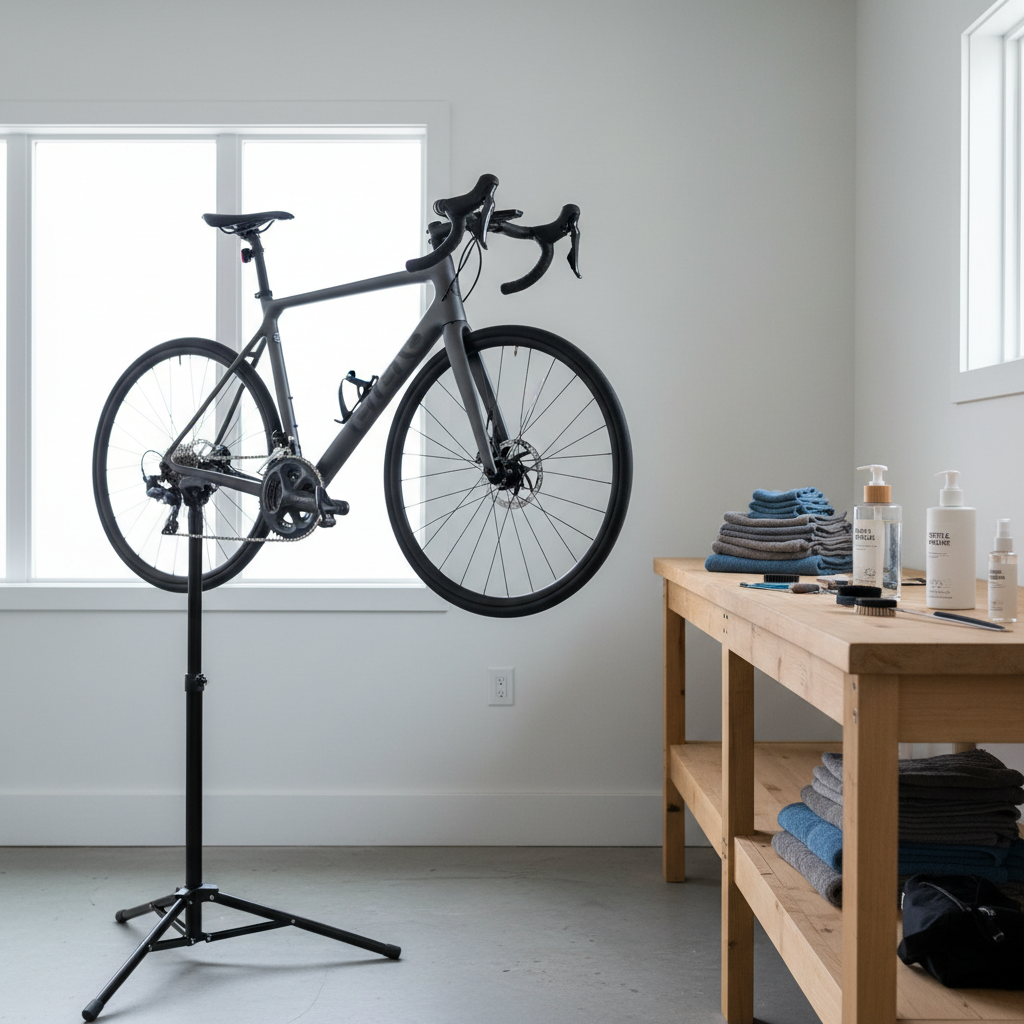
Step 1: Wash and fully dry
Wash the frame and fork like you mean it, rinse well, then dry completely. Water sitting around bolts, bottle bosses, and cable ports can dilute polish and leave milky streaks.
Step 2: Degrease only where needed
Use degreaser on drivetrain parts, not as an all-over cleaner. Overspray onto paint often strips wax and leaves a dull look you then try to “polish back,” which wastes time.
Step 3: Remove stubborn contamination (when necessary)
If the paint feels rough even after washing, you may have embedded grime. A clay bar (used with plenty of lubricant) can help, but take it slow and stop if you feel grabbing. On matte finishes, skip clay unless a manufacturer recommends it.
Pick the right polish by material (quick table)
This is where people get tripped up: “bike polish” can mean a cleaner wax, a silicone-based spray, a ceramic-style protectant, or a mild abrasive. Match the product to the surface and your goal.
| Surface | What to use | What to avoid | Why it matters |
|---|---|---|---|
| Gloss paint / clearcoat | Non-abrasive polish or cleaner wax, or spray sealant | Heavy compound, harsh degreasers | Clearcoat is thin, easy to haze with abrasives |
| Matte paint | Matte-safe cleaner + matte protectant | Waxes, abrasives, glossy sealants | Gloss products can create shiny blotches |
| Raw aluminum | Metal polish (mild), then protectant | Aggressive rubbing near decals/paint edges | Oxidation returns fast without protection |
| Carbon frame (clearcoated) | Paint-safe, non-abrasive polish; gentle sealant | Unknown solvents, heavy abrasives | Most carbon is finished with clearcoat, treat like paint |
| Chrome / stainless bits | Metal polish + microfiber buff | Steel wool (often scratches) | Chrome scratches show immediately under bright light |
| Plastics (fenders, covers) | Plastic-safe polish/protectant | Strong solvents | Some plastics haze or soften with solvents |
A practical, step-by-step routine to get a mirror-like shine
This routine works well for most glossy frames. Adjust product choice for matte finishes and bare metal, but keep the flow the same.
1) Mask off the “no-polish” zones
Cover rotors and rim brake tracks with a clean towel or paper, and keep products away from tires. If you’re using a spray, consider masking more than you think you need.
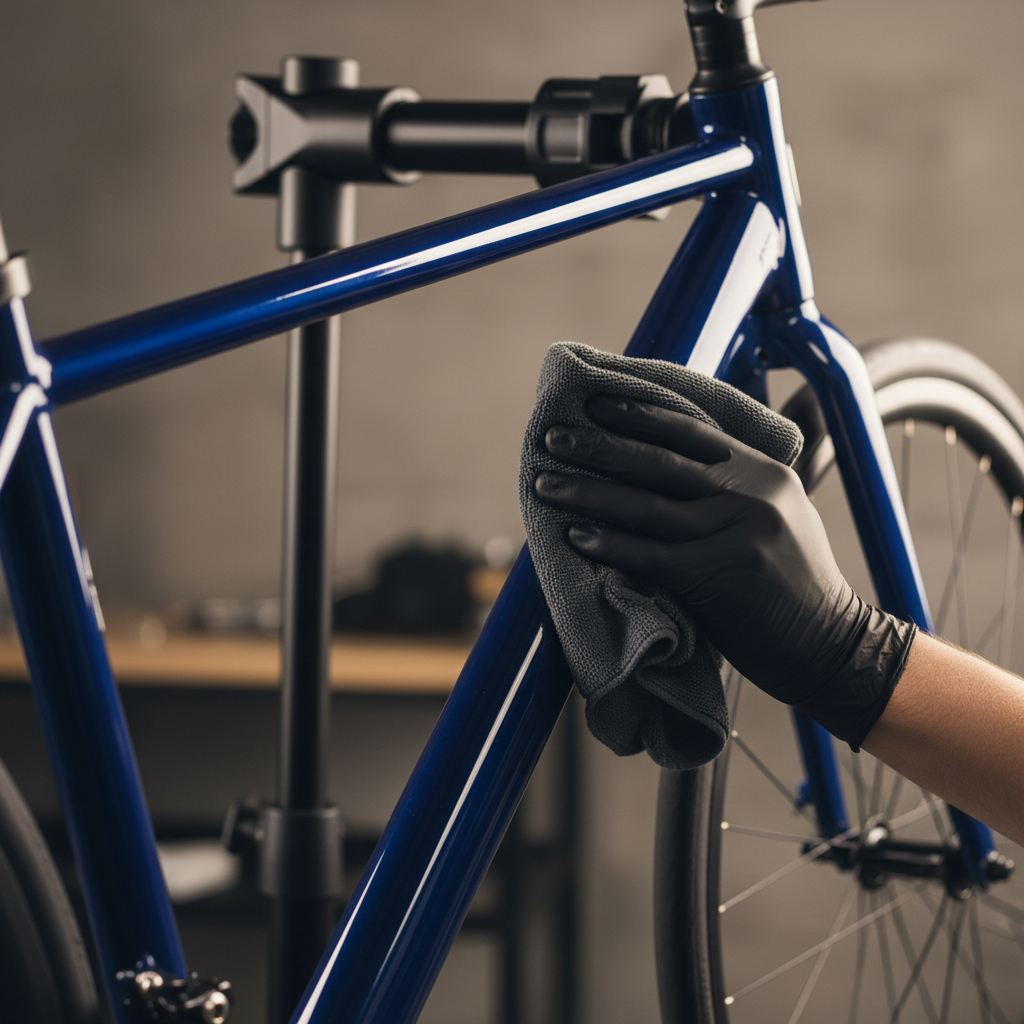
2) Apply polish to the towel, not the bike
Put a small amount on a microfiber, then work one section at a time, like a top tube or a fork leg. This reduces overspray and helps you control how much product ends up near brakes.
3) Use light pressure and keep passes consistent
Let the chemistry do the work. Pressing hard tends to grind leftover grit into the finish, which is the opposite of what you want when learning how to polish a bike to shine.
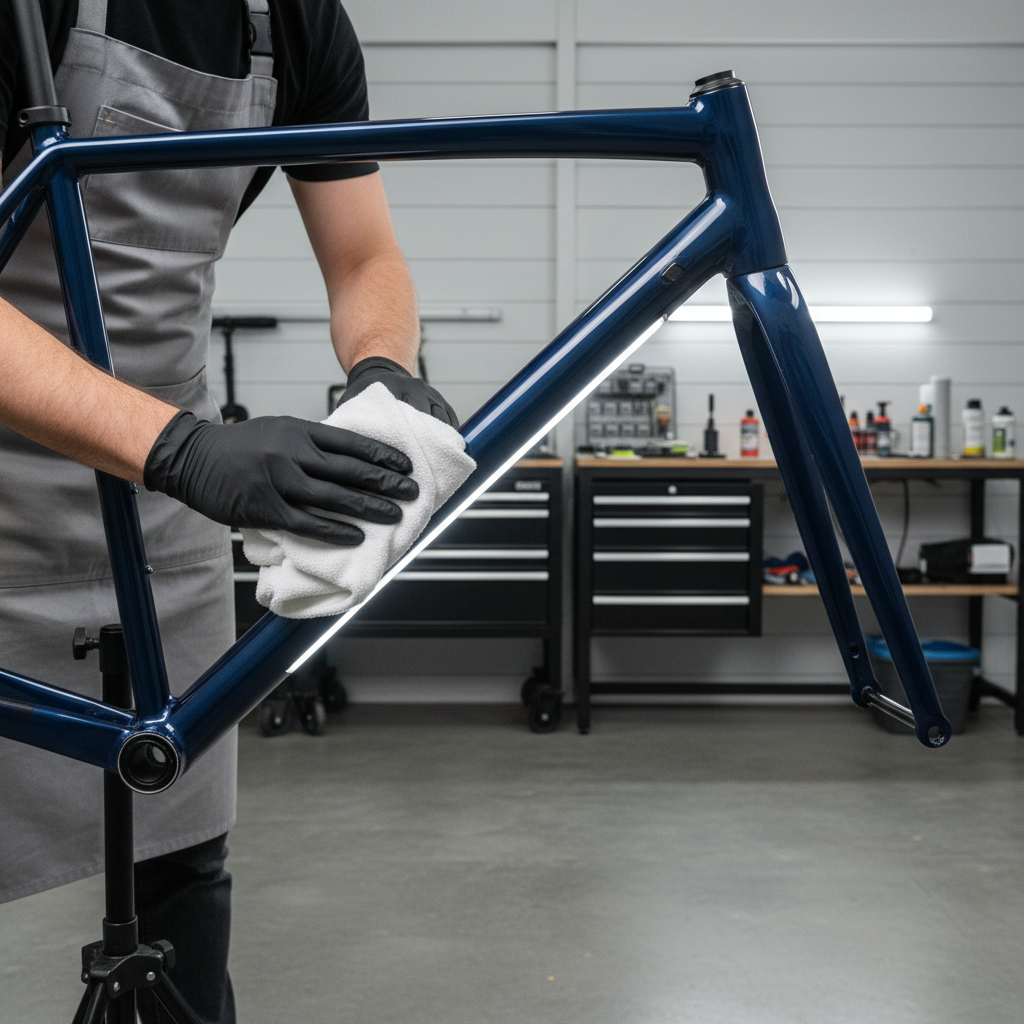
4) Buff with a second clean towel
Flip often. If the towel starts to drag, switch sides or swap towels. That “drag” feeling is usually product loading up, not a cue to push harder.
5) Inspect under angled light
Use a garage light or phone flashlight at an angle. Streaks show up immediately, and you can fix them while the product is fresh.
Quick self-check: what kind of “dull” are you dealing with?
Not all dullness is polish-solvable. Use this to avoid wasting an afternoon.
- Feels gritty after washing: contamination embedded in finish, consider clay or repeat wash with better rinse.
- Looks cloudy everywhere: product residue, try a damp microfiber then dry buff, or a tiny bit of diluted IPA on a towel.
- Dull only on high-touch areas: abrasion from bags, knees, or cable rub, you may need a mild finishing polish and then protective film.
- Patchy shine on matte paint: glossy product was used, stop polishing and switch to matte-safe cleaner.
- White chalky spots near bolts: dried cleaner, salt, or corrosion starting, clean carefully and consider professional inspection if corrosion looks deep.
According to Shimano..., contaminated brake pads or rotors can reduce braking power, so if any polish or protectant touches braking surfaces, clean with appropriate brake cleaner and replace pads if performance stays inconsistent.
Common mistakes that kill the shine (or create safety issues)
- Polishing a dirty bike: you “buff in” micro-scratches, and the finish never looks crisp.
- Using one towel for everything: drivetrain residue transfers to paint and leaves smears that won’t buff out cleanly.
- Spraying around brakes: even careful people drift onto rotors or rim tracks, then wonder why braking feels weird.
- Overdoing metal polish: many metal polishes are abrasive, so repeated use can thin plating or change the look of brushed finishes.
- Trying to make matte glossy: matte finishes are designed to scatter light, “fixing” that often makes them look uneven.
When it’s worth getting help (or at least slowing down)
If you find deep scratches through paint, bubbling clearcoat, or spiderweb cracking around joints, polishing won’t solve the underlying problem. In many cases it’s smarter to stop and have a reputable bike shop inspect it, especially on carbon frames where surface marks can be hard to interpret.
For braking concerns, be conservative. If you suspect contamination and cleaning doesn’t restore consistent braking, a mechanic can help diagnose whether pads, rotors, or rim surfaces need replacement.
Key takeaways you can follow on your next wash day
- Prep beats product: wash, rinse, and dry fully before any shine step.
- Match polish to material, and treat carbon like clearcoated paint unless the manufacturer says otherwise.
- Keep shine away from brakes and tires, and apply product to the towel for control.
- Work small sections, then buff with a second clean microfiber for a sharper finish.
If you want results that last longer than one ride, put a simple plan on your calendar: quick wash weekly, full polish and protection every few months depending on weather and storage.
FAQ
- What’s the easiest way to make my bike shiny fast?
Do a proper wash, dry it fully, then use a paint-safe spray sealant on the frame and buff with a clean microfiber. Speed comes from clean towels and small sections, not from heavier products. - Can I use car wax when learning how to polish a bike to shine?
Often, yes on glossy paint, but avoid anything that leaves a slippery overspray near brakes. If your frame is matte, car wax usually creates uneven glossy spots. - Is metal polish safe for an aluminum frame?
It can be, but many formulas are mildly abrasive. Test a hidden spot first, use light pressure, and protect afterward since bare aluminum oxidizes again. - How do I remove streaks after polishing?
Start with a fresh dry microfiber and buff again. If residue persists, use a slightly damp towel, then dry buff; a small amount of isopropyl alcohol on a towel can help in many cases, but use sparingly and avoid decals if they seem sensitive. - Can polishing damage a carbon bike?
Carbon frames are typically clearcoated, so the risk is similar to paint: aggressive abrasives or harsh solvents can haze the finish. When unsure, stick to non-abrasive products and follow the frame maker’s guidance. - Should I polish spokes, rims, and rotors?
Spokes can be wiped and lightly polished if they’re metal, but keep products off rim brake tracks and rotors. For braking parts, clean with products intended for brakes to avoid performance issues. - How often should I polish my bike?
Many riders do it seasonally or every few months, more often if the bike lives outside or sees salty winter roads. If you wash regularly and use a protectant, you can usually polish less.
If you’re trying to keep a bike looking sharp with minimal effort, a small “clean, protect, buff” kit plus a repeatable routine usually beats chasing new products, and it makes how to polish a bike to shine feel like a quick habit rather than a whole project.