How to adjust a recumbent exercise bike starts with one simple goal: your legs should work hard, but your joints should not feel “pinched,” cramped, or overextended.
If your knees ache, your hips rock side-to-side, or your lower back feels tired before your legs do, the bike often is not “wrong,” it is just set up for someone else.
The good news is that recumbent bikes are usually forgiving, and small adjustments can change everything: comfort, power output, and how long you want to stay on the seat.
Before You Touch Any Lever: Know the Adjustments You Actually Have
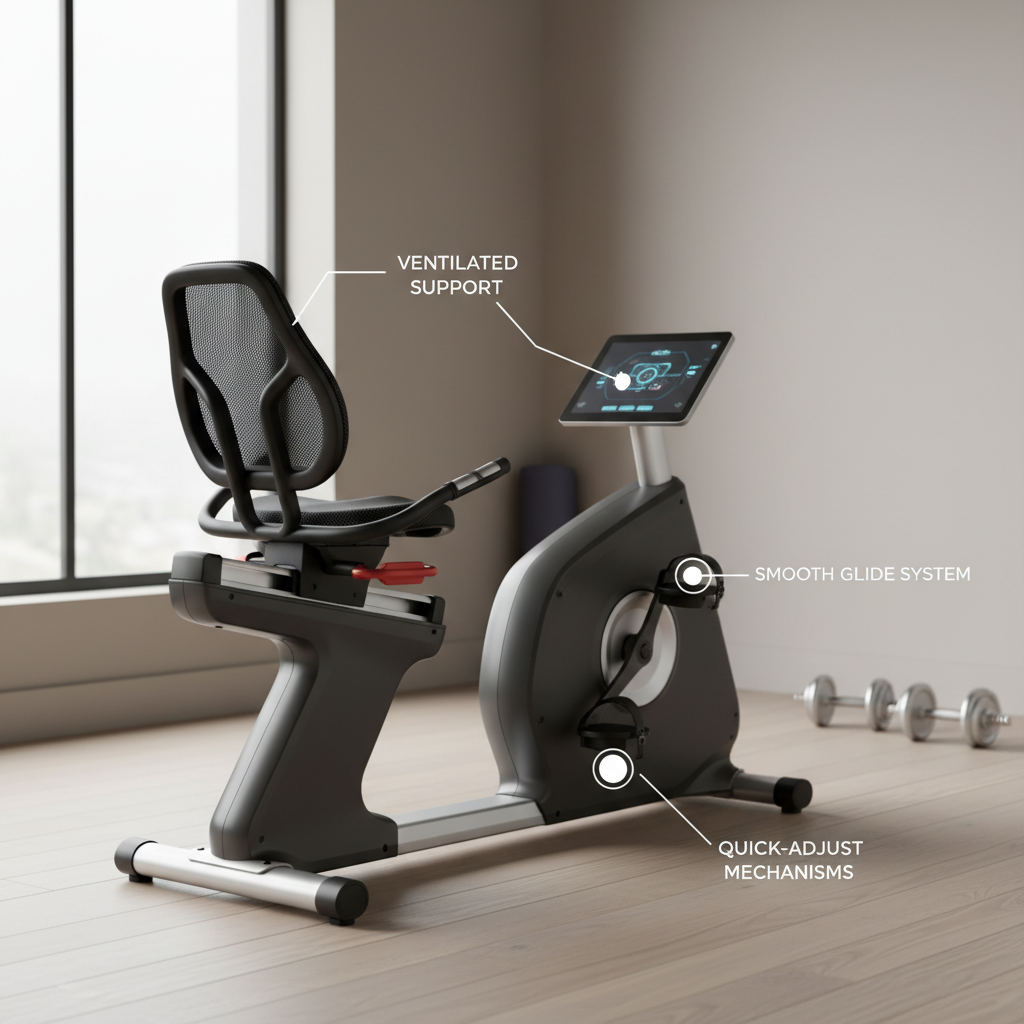
Not every recumbent model adjusts the same way, so it helps to identify what your bike can change, and what it cannot. Most home and gym units include a sliding seat, some have a backrest tilt, and many allow handlebar or console angle changes.
According to the American Council on Exercise (ACE), good exercise technique includes stable posture and joint alignment, so your setup should support a neutral spine and controlled leg motion rather than forcing you to “make it work.”
- Seat distance (fore/aft): the main comfort and knee-safety setting.
- Backrest position or tilt: affects lumbar comfort and hip angle.
- Pedal/strap fit: keeps feet stable, reduces “toe gripping.”
- Handlebars: may be fixed or adjustable, should not force shrugged shoulders.
- Console angle and height: small change, big difference for neck tension.
Quick Fit Check: 60 Seconds to Tell If You’re Close
If you want a fast baseline before fine-tuning, use this checklist. It catches the most common setup mistakes without overthinking it.
- At the farthest pedal point, your knee stays slightly bent, not locked straight.
- Your hips stay planted, no rocking to reach the pedals.
- Your lower back feels supported by the backrest, not hovering or over-arched.
- Your feet sit centered on the pedals, straps snug but not cutting circulation.
- Your shoulders stay down, elbows relaxed, you can hold bars without leaning forward.
If two or more items fail, start with seat distance. Most discomfort traces back to that one setting.
How to Adjust Seat Distance (This Is the Big One)
When people search how to adjust a recumbent exercise bike, seat distance is usually what they mean, because it drives knee comfort, hip stability, and how much power you can produce.
Step-by-step seat setup
- Get seated and clip/strap in the way you actually ride, not “just for testing.”
- Pedal slowly for 10–15 rotations at light resistance.
- Pause with one pedal farthest away (your leg most extended).
- Look for a soft knee bend: you want a slight bend, commonly around a modest angle, not fully straight.
- Adjust one notch at a time, then retest. Big jumps make it hard to feel what helped.
What “too close” vs “too far” feels like
- Too close: knees feel cramped, kneecap pressure, hips tuck under, quads burn fast but oddly.
- Too far: toes point to reach, hips rock, hamstrings tug, knees want to lock out.
A practical cue: if you can comfortably keep your heel down through the bottom of the stroke without stretching, you’re typically in the right zone. If that heel cue creates strain, back off and use the “soft knee bend” test instead.
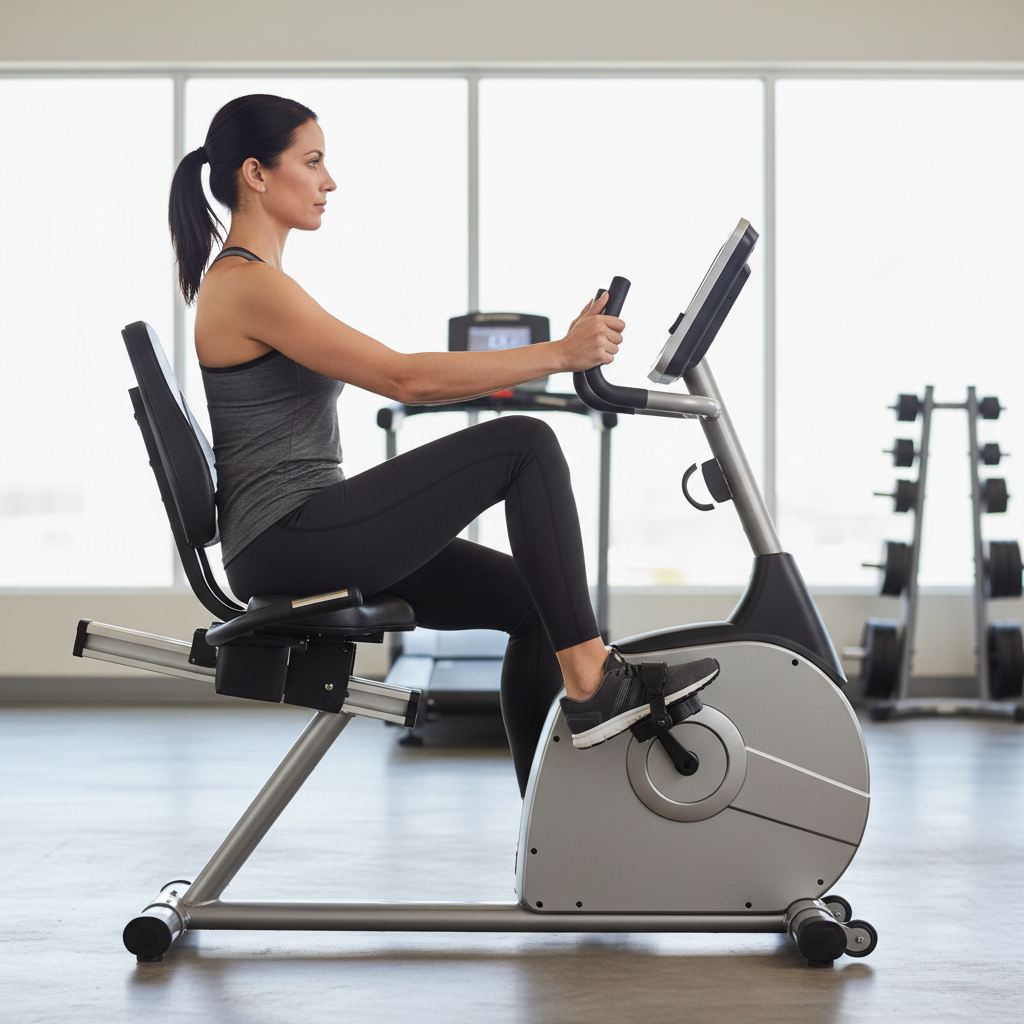
Backrest and Posture: Comfort Without Slouching
Recumbent bikes feel “easy on the back,” but only when the backrest supports you in a neutral position. If you slump, you may feel neck tension and low-back fatigue even at low resistance.
How to set the backrest
- Sit tall first, then let the backrest meet you, rather than collapsing into it.
- If your bike has backrest tilt, aim for a position where you can breathe easily and keep ribs “stacked” over hips.
- If you feel pressure on the tailbone, try a slightly more upright position and recheck seat distance.
Small note that surprises people: changing backrest tilt can change how “far” the pedals feel, so if you adjust tilt, re-check your knee bend afterward.
Pedals, Straps, and Foot Position: Stop the Numb-Toe Problem
Foot numbness often comes from straps that are too tight, feet placed too far forward on the pedal, or pushing through the toes instead of the midfoot. It can also be shoe-related, especially with thick running shoes.
Simple pedal setup
- Place the ball of your foot over the pedal axle area when possible.
- Tighten straps so your foot feels secure, but you can still wiggle toes.
- Keep ankles relatively quiet, avoid “ankle pumping” as your default.
If you use cycling shoes and the bike supports toe cages or clipless systems (less common on recumbents), follow the manufacturer guidance carefully, and consider a professional fitting if knee tracking feels off.
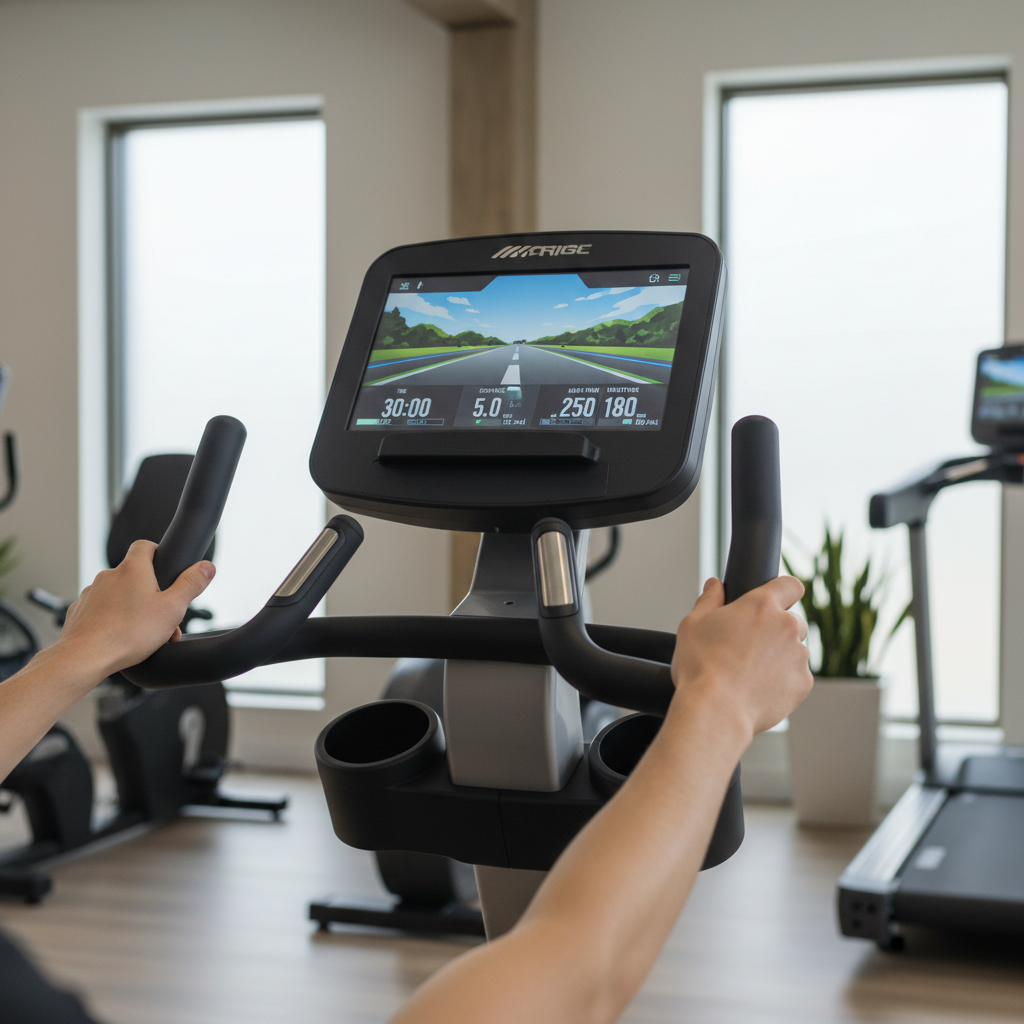
Handlebars and Console: Small Tweaks That Save Your Neck and Shoulders
Many recumbent bikes have fixed side handles, so there is not much to “fit.” Still, your upper body can tell you quickly if your setup forces tension.
- Grip lightly: white-knuckle gripping usually means you’re bracing for an unstable lower body setup.
- Shoulders down: if you shrug, the seat may be too far from the bars, or the backrest angle may be off.
- Console at glance level: if you crane your neck, tilt or raise it if possible.
According to the National Institutes of Health (NIH), maintaining comfortable posture during exercise can support consistency and reduce unnecessary strain, so treating “neck comfort” as a real adjustment target is not being picky, it is being smart.
Troubleshooting Table: Symptoms, Likely Causes, Quick Fix
If you feel something “wrong,” use the symptom to guide the next adjustment, instead of randomly changing everything.
| What you feel | Likely setup issue | Try this first |
|---|---|---|
| Knee pain in front (kneecap area) | Seat too close, pushing through toes | Move seat back 1–2 notches, center foot on pedal |
| Hamstring tug or knee locks out | Seat too far | Move seat forward 1 notch, recheck soft knee bend |
| Hips rocking side to side | Seat too far or resistance too high early | Bring seat forward slightly, lower resistance while testing |
| Low back fatigue | Slouching, backrest angle mismatch | Set backrest more upright, sit tall then settle back |
| Feet numb or tingling | Straps too tight, poor foot placement | Loosen straps, place midfoot over axle area |
| Neck/shoulder tension | Reaching to console, shrugging | Tilt console toward you, relax grip, adjust backrest |
Practical Setup Routine You Can Repeat Every Time (Especially in a Gym)
If you share a bike at a gym, settings change constantly. This quick routine keeps you from guessing, and it makes the first five minutes feel less awkward.
- Set seat distance first using the farthest-pedal knee bend check.
- Do 30 seconds easy pedaling, watch for hip rocking and toe reaching.
- Adjust backrest so you can breathe comfortably and keep shoulders relaxed.
- Set straps last, snug enough to keep your foot stable at higher cadence.
- Do a 2-minute warm-up before raising resistance, because cold joints can “complain” even on a good fit.
Key takeaway: if you change one major setting, re-check the others briefly, because the bike works as a system.
Common Mistakes That Make Adjustments Feel Useless
- Testing at high resistance right away: it hides fit issues and can irritate knees faster.
- Chasing “perfect extension”: locking out the knee often feels powerful for a moment, then it bites back.
- Letting the backrest do all the work: if you slump, you end up pedaling from a weak position.
- Ignoring foot position: a small shift on the pedal can change knee tracking more than you expect.
When to Get Extra Help (and When to Stop and Reassess)
If you feel sharp pain, numbness that persists after your ride, or swelling, it is usually smarter to pause and reassess rather than “push through.” Many situations are minor setup issues, but some can be related to prior injuries, mobility limits, or equipment mismatch.
Consider asking a certified trainer at your gym for a quick fit check, and if pain continues across multiple sessions, consulting a physical therapist or qualified healthcare professional may be appropriate.
Conclusion: A Better Fit Makes the Workout Feel Easier and More Effective
If you remember only one thing about how to adjust a recumbent exercise bike, make it this: seat distance is your foundation, and everything else becomes easier once your knee angle and hip stability feel right.
Pick one bike, do the 60-second fit check, then ride for five minutes at an easy pace before deciding what to change. Comfort tends to show up in the details, and those details are absolutely adjustable.