how to remove grease from bike chain is mostly about getting the old, dirty film off without stripping parts you still need, then putting the right lubrication back on so the drivetrain stays quiet and efficient.
If you ride in the rain, store a bike in a dusty garage, or use heavier wet lubes, grease can turn into a gritty paste that wears chains and cogs faster than most people expect. The annoying part is it also migrates, one touch on the chain and you have a black stripe on your calf or your car seat.
This guide walks through a few realistic cleaning options, from quick “good enough” wipes to a full deep-clean, plus how to tell when you should stop cleaning and just replace the chain. You’ll also see common mistakes that make chains louder or rustier, even after a “clean.”
What grease on a bike chain actually is (and why it gets nasty)
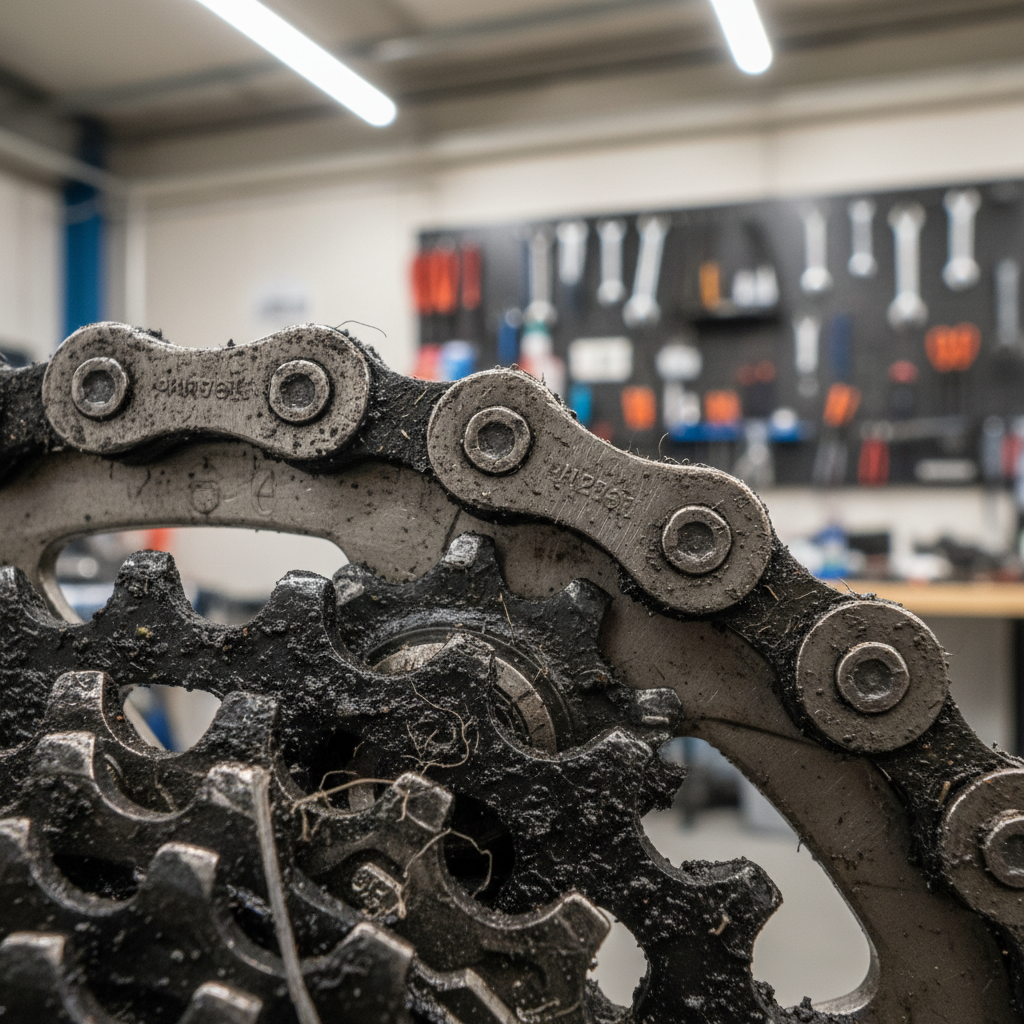
Chain “grease” is usually a mix of lubricant, metal particles, dust, and road grime. Some chains ship with a thick factory coating that protects against corrosion and can last a while, but once it mixes with dirt it becomes abrasive.
Two key areas matter: the outside plates you can see, and the rollers and pins where the chain articulates. Cleaning only the outside makes the chain look better, but the performance and wear story lives inside those moving joints.
According to Park Tool, routine drivetrain cleaning and correct lubrication help reduce wear and keep shifting smooth, which is really the practical reason to bother with chain degreasing rather than chasing a spotless look.
Quick self-check: do you need a wipe-down or a deep degrease?
Before you grab solvents, decide what level of cleaning makes sense. A lot of riders deep-clean every time and end up spending more effort than the benefit, especially if they use the wrong lube afterward.
Use this checklist
- Just a wipe-down: chain feels slightly oily, looks dark only on the surface, drivetrain isn’t noisy, shifting feels normal.
- Medium clean: chain leaves black residue on your fingers, you hear light grinding, pulley wheels show gunk “cakes.”
- Deep degrease: chain has thick paste, squeaks after rides, you rode through rain/sand, or you’re switching lube type (wet to wax, for example).
- Consider replacing: chain skips under load, measures past wear limit, rust shows inside rollers, cleaning doesn’t improve noise.
If you don’t own a chain checker, it’s worth adding to your tool kit. According to Shimano, chain wear impacts shifting and can accelerate wear on the cassette and chainrings, so checking stretch can save money long-term.
Tools and cleaners: what works, what to avoid
You can remove grease with purpose-made bike degreasers, mild detergents, or certain solvents, but not every “strong” cleaner is a good idea around seals, paint, and plastics.
Common options (and when they fit)
| Cleaner | Best for | Watch-outs |
|---|---|---|
| Bike-specific degreaser (citrus or water-based) | Routine to heavy grime | Rinse well, don’t let it dry on finishes |
| Dish soap + warm water | Light/medium cleaning | May not cut thick paste, needs thorough drying |
| Mineral spirits | Deep degrease, wax prep | Ventilation, skin protection, keep off tires/brake rotors |
| Isopropyl alcohol (70–99%) | Final wipe, removing residue | Not a primary degreaser for heavy buildup |
What I’d be cautious with
- High-pressure water: it can push dirty water into bearings and freehub seals.
- Gasoline or harsh unknown solvents: safety and material-compatibility risks are not worth it in most home garages.
- Brake cleaner: it’s effective but easy to overspray onto seals and finishes, and it can be overkill for chains.
If you’re unsure how a cleaner will interact with your frame finish or components, test a small, hidden spot, or follow the component maker’s guidance.
Method 1: Fast, low-mess chain cleaning (no removal)
This is the approach that keeps most drivetrains happy week to week. It won’t make a chain “lab clean,” but it usually gets you back to quiet running quickly.
Steps
- Shift into the small chainring and a middle rear cog, this gives slack and easier backpedaling.
- Hold a rag around the chain’s lower run and backpedal 10–20 revolutions, changing to a clean part of the rag as it loads up.
- Apply a small amount of degreaser to the rag or use a chain-cleaning tool, then backpedal again until the rag stops turning black so fast.
- Wipe dry thoroughly, especially the side plates and rollers.
Key point: a “clean-looking” chain can still have dirty lube inside the rollers, so don’t expect miracles from this method if you started with thick paste.
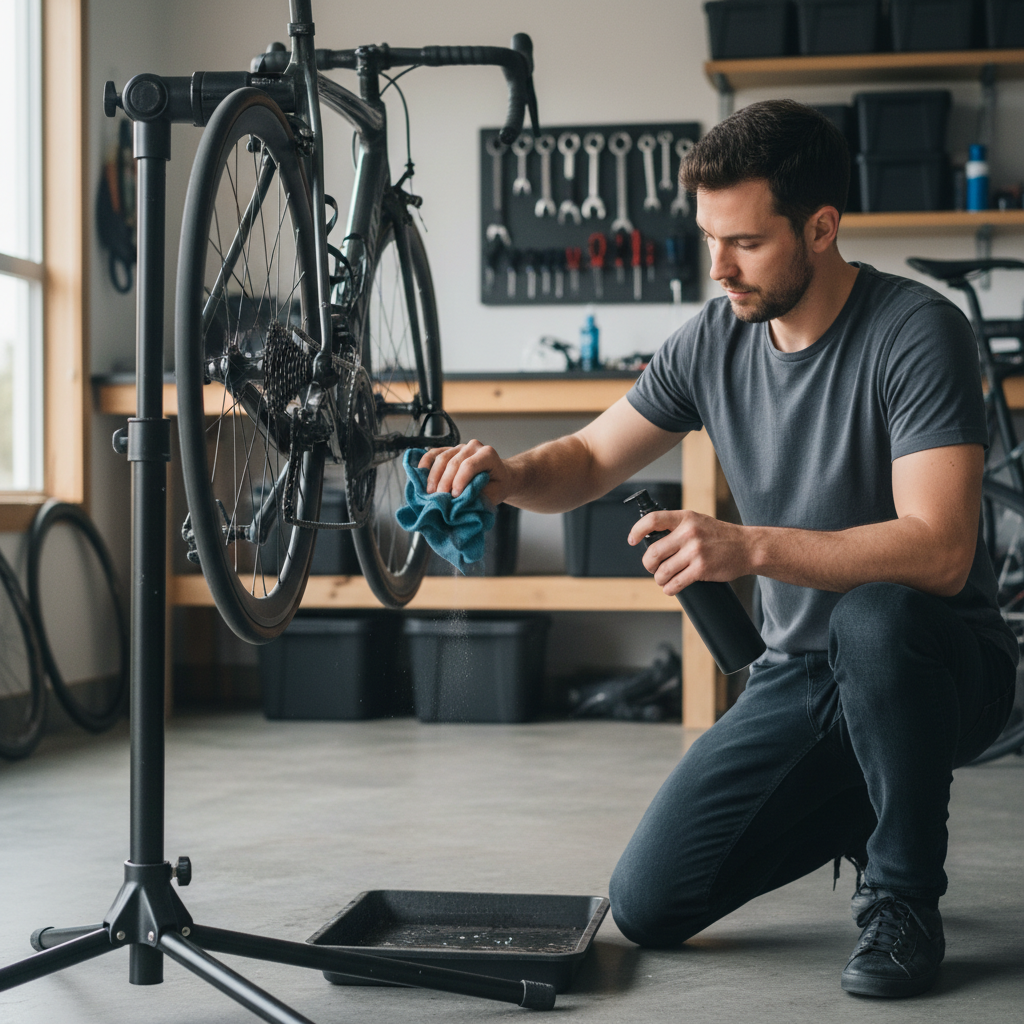
After you remove grease from bike chain this way, lubrication is not optional, even if the chain still feels slightly slick. The goal is fresh lube inside the chain joints, not a greasy exterior that attracts dirt.
Method 2: Deep degrease without removing the chain
If your chain has crunchy grime, a chain-cleaning tool plus a stronger degreaser can do a lot without dealing with master links. It’s also a decent middle ground for commuters who want results without a full teardown.
Steps that tend to work well
- Cover the floor and keep cleaners away from brake rotors and pads, contamination can cause noise and reduced braking.
- Fill the chain-cleaning tool with degreaser, install it on the lower chain run, then backpedal slowly 30–60 revolutions.
- Dump dirty degreaser, refill if needed, repeat until the fluid stays relatively clear.
- Rinse with a damp rag (or gentle water if the degreaser requires it), then wipe dry until no moisture shows.
On bikes with disc brakes, I like to place a clean towel over the rear rotor area as a simple guard. It looks a bit extra, but it prevents a common headache.
Method 3: Remove the chain for a true deep clean (best for wax prep)
If you’re switching to hot wax or your drivetrain has months of buildup, chain removal is the most consistent way to get grease out of the rollers. Many modern chains use a quick link, but compatibility varies, so check your chain brand and speed (10/11/12-speed, etc.).
Steps
- Remove the chain via quick link pliers or a chain tool, depending on setup.
- Place chain in a sealed container with degreaser or mineral spirits, agitate, then let it soak briefly.
- Pour off the dirty solution safely, repeat with fresh solution until it stays mostly clear.
- Do a final rinse with alcohol or a bike-safe rinse product to remove residue, then dry completely.
Drying matters: trapped moisture invites rust inside the rollers. Air drying can work, but many people speed it up with compressed air at low pressure, used carefully.
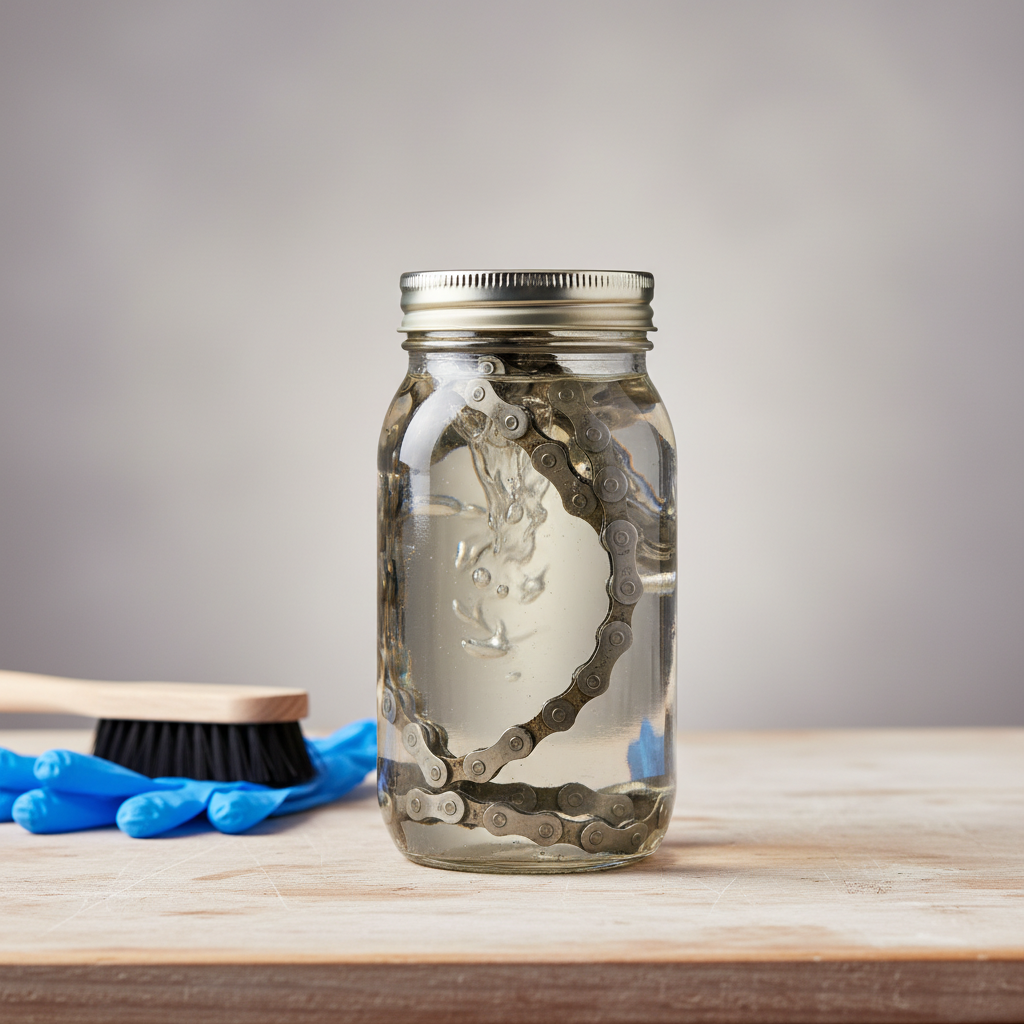
If you’re doing this for wax, the “squeaky clean” standard is higher than typical lubes require. Any leftover oily film can keep wax from bonding well, so you’re aiming for a chain that feels almost dry and bare metal after cleaning.
After cleaning: relube correctly so the grease doesn’t come right back
Many people remove grease from bike chain and stop there, then wonder why the drivetrain starts squealing two rides later. Cleaning strips lubricant from inside the chain joints, and that’s where wear happens.
A practical relube routine
- Choose lube based on conditions: wet lube for frequent rain, dry lube for dusty climates, wax-based if you want a cleaner drivetrain and are willing to maintain it more consistently.
- Apply one small drop to each roller while slowly backpedaling, less is usually better than more.
- Wait 5–15 minutes so it can penetrate (longer for some lubes, follow the label).
- Wipe the chain’s exterior firmly with a clean rag, this step separates a quiet drivetrain from a dirt magnet.
According to SRAM, lubrication should focus on the chain rollers, and excess lube on the outside mainly attracts contamination, which is the opposite of what you want after a cleaning.
Mistakes that make chain cleaning frustrating (and how to dodge them)
- Chasing a spotless shine every time: a slightly stained chain can still run great if it’s lubed correctly.
- Degreaser everywhere: overspray onto rotors, tires, or suspension seals creates follow-on problems.
- Not wiping after lubing: the outside should feel almost dry to the touch, not wet.
- Ignoring cassette and jockey wheels: a freshly cleaned chain running through filthy pulleys gets dirty again fast.
- Skipping chain wear checks: cleaning can’t undo elongation, and a worn chain will keep shifting poorly.
If you keep seeing heavy black paste after just a ride or two, it may be a lube choice mismatch for your conditions, or you might be applying too much.
When it’s worth asking a shop for help
If your chain still grinds after cleaning and relube, or it skips under load, a quick inspection at a local shop can save time. They can check chain wear, cassette wear patterns, and derailleur alignment, issues that mimic “dirty chain” symptoms.
Also consider professional help if you suspect brake contamination, especially on hydraulic disc setups. Brakes are safety-critical, and DIY fixes vary by pad compound and rotor condition, so cautious guidance is reasonable.
Key takeaways (so you remember the parts that matter)
- Match the cleaning level to the grime level, most riders only need a wipe-down often, deep degrease occasionally.
- Protect brakes and avoid high-pressure water around bearings.
- Relube and wipe after cleaning, clean outside, lubricated inside is the goal.
- Check chain wear when shifting gets rough, cleaning can’t fix a stretched chain.
If you want a simple plan, start with a rag wipe and proper relube, then schedule a deeper clean every few weeks or after harsh weather rides. Once you get the rhythm, grease stops feeling like a constant battle.